
Interior Designer Cost in 2025
What Does an Interior Designer Cost in 2025? Your Complete Pricing Guide
Transforming your living space with the expertise of a certified interior designer can dramatically enhance both aesthetics and functionality. But before you embark on a design journey, one pressing question remains—what will it cost in 2025 to hire an interior designer?
While prices vary depending on experience, location, and the level of customization, this guide breaks down the most common pricing models, potential hidden fees, and key factors influencing your investment.
Popular Interior Designer Pricing Models
Interior designers offer flexible pricing structures tailored to project size and complexity. Here are the most common ways they charge:
1. Flat or Fixed Fee
Many professionals opt for a flat rate covering the entire project. For 2025, expect fees to range between \$2,000 and \$10,000 per room.
Advantages:
- Transparent, upfront costs
- Ideal for complete room transformations
- Eliminates surprise expenses
Drawbacks:
- May not suit smaller projects
- Higher initial payment
2. Hourly Rates
For consultations or smaller design tasks, many interior design experts bill by the hour. Rates typically fall between \$100 and \$500.
Rate Breakdown by Experience:
- Entry-Level Designer: \$50 – \$150/hour
- Mid-Tier Designer: \$150 – \$300/hour
- Elite Designer: \$300 – \$500/hour
3. Per Square Foot Pricing
For expansive spaces or commercial projects, pricing per square foot is common, generally \$5 to \$15 per sq. ft.
Sample Costs:
| Room Size | Estimated Cost |
|---|---|
| 500 sq. ft. | \$2,500 – \$7,500 |
| 1,000 sq. ft. | \$5,000 – \$15,000 |
| 2,000 sq. ft. | \$10,000 – \$30,000 |
4. Percentage of Total Budget
Designers may charge 10% to 40% of your total project cost. For a \$50,000 renovation, that equates to \$5,000 to \$20,000.
Best for:
- Major remodels
- Clients preferring scalable fees
What Factors Influence Interior Designer Costs?
Several key variables shape your final price:
Experience & Reputation
Veteran designers command premium rates thanks to their portfolio, expertise, and vendor access.
Typical Hourly Rates:
- Entry-Level: \$50 – \$150
- Mid-Tier: \$150 – \$300
- High-End: \$300 – \$500
Geographic Location
Rates fluctuate by city:
| City | Average Hourly Rate |
|---|---|
| New York | \$250 – \$500 |
| Los Angeles | \$200 – \$450 |
| Chicago | \$150 – \$400 |
| Houston | \$100 – \$300 |
| Rural Areas | \$50 – \$150 |
Customization & Materials
Expect higher costs for custom furnishings, luxury finishes, and premium decor.
Material Estimates:
- Standard: \$5,000 – \$10,000
- Mid-Range: \$10,000 – \$30,000
- Luxury: \$30,000+
Additional Costs to Budget For
Beyond base fees, watch for these potential expenses:
- Consultation Fees: \$150 – \$500
- Procurement Fees: 10% to 40% commission on purchases
- Project Management Fees: For overseeing contractors and logistics
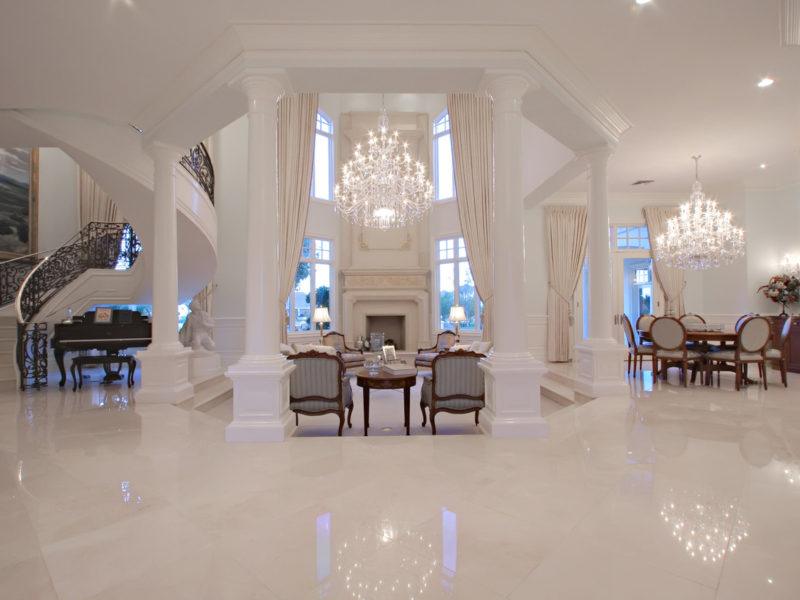
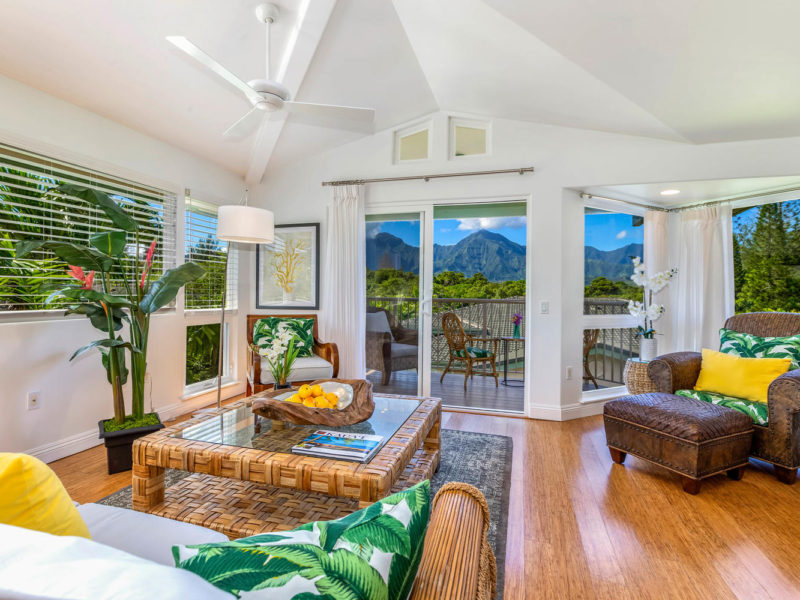
Is Hiring an Interior Designer Worth It?
Absolutely—if your goal is a polished, functional space. Benefits include:
✅ Saves time and avoids costly mistakes ✅ Access to exclusive vendor discounts ✅ Cohesive, personalized design ✅ Potential increase in property value
However, if you only seek minor decor changes or love DIY projects, professional services might not be necessary. To explore expert design services, connect with a trusted interior design firm or consult with seasoned interior design experts to bring your vision to life.
FAQs About Interior Designer Pricing
Consider virtual design services (starting around \$300/room) or hire a junior designer. Alternatively, a one-time consultation can offer expert advice for DIY projects.
Yes—especially for long-term projects or if you’re sourcing some materials yourself.
Most charge an initial fee, but some may provide a free discovery call.
Interior designers handle structural planning and renovations, while decorators focus solely on visual aesthetics.
Shop furniture sales
Mix high-end with budget pieces
Use room-planning apps before making purchases
Final Thoughts
Investing in a las vegas designer or interior design firm can dramatically improve your home’s look, function, and market value. Whether you prefer a fixed fee, hourly rate, or square foot pricing, understanding the various cost models and potential add-ons helps you budget wisely. An effective digital strategy is essential for interior designers looking to increase bookings and build lasting client relationships.