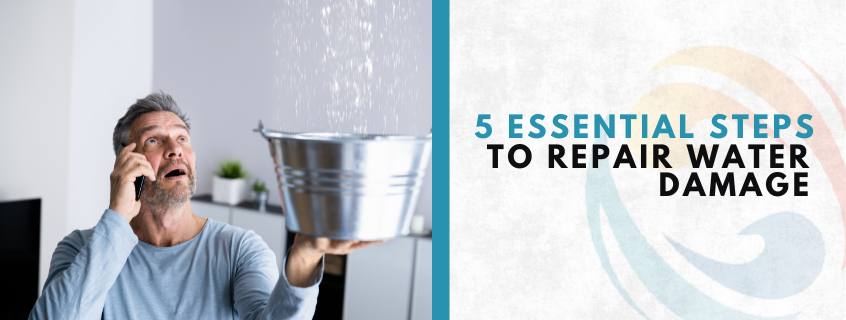
5 Essential Steps to Repair Water Damage
Water damage might be a homeowner’s worst fear. When water penetrates drywall, it may produce stains, decrease structural integrity, and even lead to collapse. Homeowners are often left wondering what steps to take next. Fortunately, with the appropriate methods and knowledge, you can effectively repair and restore the damage to your house. Understanding the nuances of water damage repair can help prevent further issues and maintain the value of your property. In this guide, we will explore five essential steps, along with tips and examples, to help you manage water damage effectively.
Lastly, consider documenting the repair process with photos and notes. This record not only assists in understanding the repairs made but can also be invaluable if you need to file an insurance claim in the future. By keeping a detailed log, you’ll have a better grasp of the history of your home’s maintenance and repairs, contributing to its overall value and your peace of mind.
Moreover, it’s wise to review your homeowner’s insurance policy to understand what is covered regarding water damage. Some policies may cover repairs and restoration while others may not, especially if the damage was due to neglect or lack of maintenance. Knowing your coverage can save you from unexpected expenses. Regular maintenance checks on plumbing and roofs can also help mitigate potential water damage issues before they escalate.
Understanding water damage and its effects on your home is crucial. For instance, water can lead to mold growth, which poses health risks to your family. As such, it’s important to act quickly when you suspect water damage. Utilizing a dehumidifier can help reduce moisture in the air, further preventing mold buildup. Additionally, keeping your home well-ventilated can also assist in drying out damp areas. Implementing these preventive measures can protect your home in the long run.
Step 1: Identify the Source of Water Leakage
Before you can repair the drywall, you must first locate and turn off the water supply. This is critical to prevent any additional water from causing more damage. Start by looking for moist patches, leaking water, and drooping ceilings, which can indicate the presence of water damage. If the drywall bulges or crumbles, the water damage is extensive and requires immediate attention. It is beneficial to inspect areas where plumbing is present, such as kitchens and bathrooms, as these are common sources of leaks. Fixing the leak first protects against future damage and guarantees that the repair lasts, saving you time and money in the long run.
Step 2: Remove Water-Damaged Drywall
Begin by placing down drop cloths or tarps to collect debris and reduce mess. This not only protects your flooring but also makes cleanup easier. Determine the degree of the damage: if the drywall is soft, cracking, or sagging, it must be removed. Carefully inspect the area to see if there are additional hidden damages. To chop away damaged pieces, use a utility knife or a hammer’s claw, ensuring you cut beyond the damaged area to ensure a clean patch. If only small stains are present, drying and repainting may suffice, but be aware that underlying issues may require more attention.
Step 3: Replace and Patch the Drywall
Measure the damaged area accurately and cut a replacement drywall piece that is two inches larger than the hole for a proper fit. On the back of the new drywall, measure 1 inch from each side and score the paper backing without cutting through it. This technique allows you to create a tapered edge, which will help blend the new piece with the existing wall. Use drywall screws to secure the new piece in place, ensuring it is tightly fitted. Fill any gaps with joint compound, using a putty knife to smooth the surface. Allow the compound to fully dry before sanding it down to a smooth finish, which will prepare the surface for painting.
Step 4: Prime and Paint
After the joint compound has dried and been sanded flat, apply primer to the mended area. This step is crucial as it helps the new paint adhere better and provides a uniform finish. Use gentle, even strokes with a roller to produce a perfect blend with the surrounding wall. Choose a primer that matches the type of paint you will use. After priming, apply at least two coats of paint, allowing each layer to fully dry before applying the next. This not only ensures that the repair is aesthetically pleasing but also protects the wall from future moisture damage.
Step 5: Clean Up
Use a shop vacuum to eliminate dust and debris created during the repair process. This includes drywall scraps and leftover paint containers, which should be disposed of properly to avoid environmental hazards. Make sure to wash brushes, rollers, and other instruments with warm, soapy water immediately after use to prolong their lifespan. When removing the painter’s tape, do so at a 45-degree angle to avoid pulling away any new paint. Finally, appropriately store your tools for later use, and consider keeping a list of what was done for future reference.
Call the Experts for Professional Assistance
If you find persistent leaks or substantial wall damage, expert assistance may be required. Trying to handle extensive repairs without the proper experience can lead to more issues. Seek help from professionals who specialize in water damage repair and restoration. For example, 770 Water Damage & Restoration has specialists trained in identifying and fixing leaks, including those concealed under walls and floors. They can provide a thorough inspection and offer solutions tailored to your specific situation. Contact us now to have your house restored fast and effectively, ensuring peace of mind for you and your family!